- Show results for
- Share
How to Install and Remove Sharkbite Fittings
Resource Description
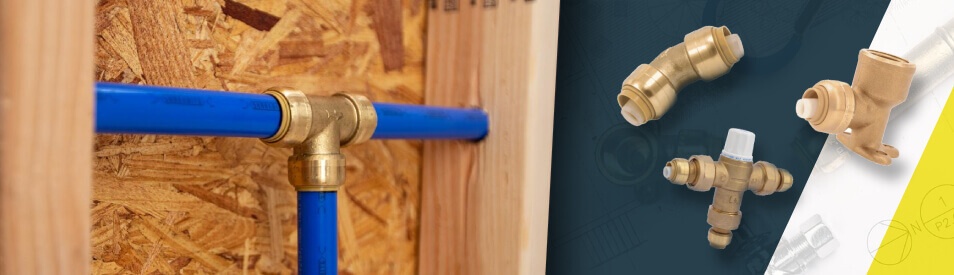
Sharkbite fittings are the push-to-connect type of water pipe connectors. They are produced in different sizes in a range from ¼ inch to 2 inches in diameter. These fittings provide connections of PEX, CPVC, or PE-RT pipes in any combination. The Sharkbite push-to-connect fittings are designed to provide easier plumbing as an ideal plumbing equipment.
The unusual fitting system allows the reuse of the fittings when it is necessary and time-saving because of the faster installation.
Where are Sharkbite Fittings Used?
Sharkbite fittings are commonly used for the household plumbing system. They are ideal for repairing leaks, replacing copper fittings, or installing new plumbing systems. They also can be used for the installation of potable water lines, radiant heat systems as they are resistant to high temperatures.
With Sharkbite fittings, you don’t need any special tool or equipment to use or to install at home. The only point you should pay attention to is to be sure that the pipe is cut square, deburred and free from any other debris before installing.
To use Sharkbite fittings underground or behind walls can be pretty risky because it will be quite difficult to determine when the leakage starts. However, if you make some additional preparation, the Sharkbite fittings can be used for such applications.
How to Install Sharkbite Fittings
The installation is quite easy and quality as well as the durable, long-term connection of the pipes. Nevertheless, you don’t need any special tool, just take the tube-cutter, gauge, and deburring tools and start the installation with 3 simple steps.
Step 1:
First of all, discover if the pipe has any deformations and try to remove all potential defects. Cut the pipe directly using a tube cutter. Use the deburring tool to take away all the sharpens and burrs. Use the gauge tool to mark 1 inch up the cut side depth on the pipe to install the fitting precisely with ease.
|

|
| Sharkbite U701 PEX Tubing Cutter | Sharkbite U702 Deburring and Depth Gauge Tool |
Step 2:
The next step is the easiest one. Take the Sharkbite fitting and softly push the pipe through it, twisting the pipe slightly. When you hear a click sound from the fitting, stop pushing the pipe.
| Blue Coil Tubing | Sharkbite Fitting |
Step 3:
The installation is finished, the last action you should do is to connect your water supply and check the pipe along to be ensured that there are no defects that may cause leaks.
| Sharkbite Lead Free Slip Ball Valve |
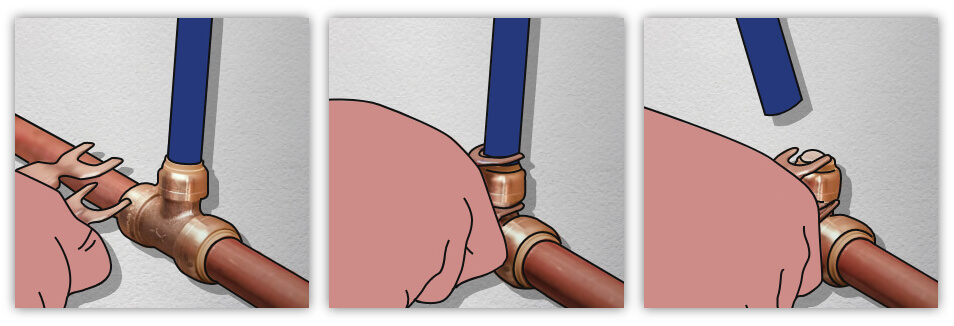
How to Remove Sharkbite Fittings
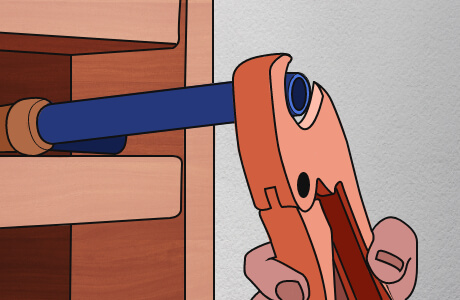
Sharkbite fittings can be removed and reused that the other fittings can’t do if there are some applications that need to be changed or repaired. To remove the fitting you’ll need only Disconnect Clip or Disconnect Tongs.
Place the clip over the pipe the way its brand logo will be away from the fitting. Press the clip against the disconnecting rings and tug at the pipe at the same time.
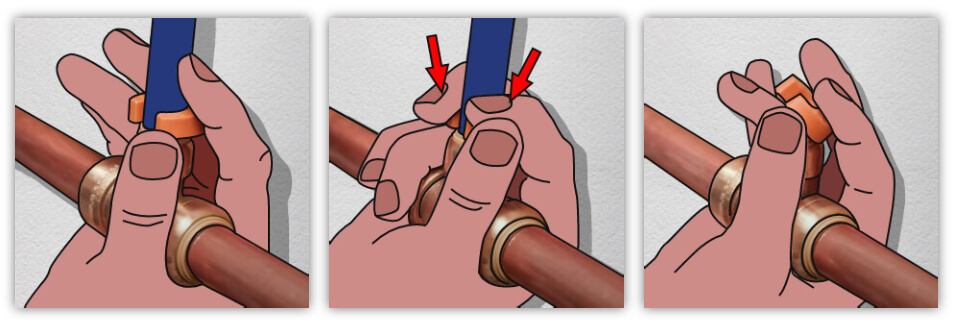
Snap the disconnecting tongs around the fitting and fix the tongs together and tug the pipe with your thumb to back up against the tongs.
Helpful Tips for Proper Sharkbite Fittings Installation
- If you have any sharpens or burrs on the pipe’s end, you may damage the O-ring during the installation. That is why a deburring and gauge tool is a perfect device to provide smooth and precise work.
- Never use a hacksaw for cutting the pipe. You need an accurate, smooth cut. For such results use a pipe/tube cutter.
- Read the manufacturer’s instructions carefully to install the fitting as it is required to avoid pipe defects or leakage.
- If you use PEX pipes for the installation, you should get an extra insert to prevent damages. Luckily, Sharkbite fittings already have the built-in insert.
The significant point is to know all the aspects for proper installation. The instruction helps to understand how Sharkbite’s locking system works to install the device on the pipe without any damages to the piping system or fittings.